Category: kitchen
-
Carbonaughty: A Confession
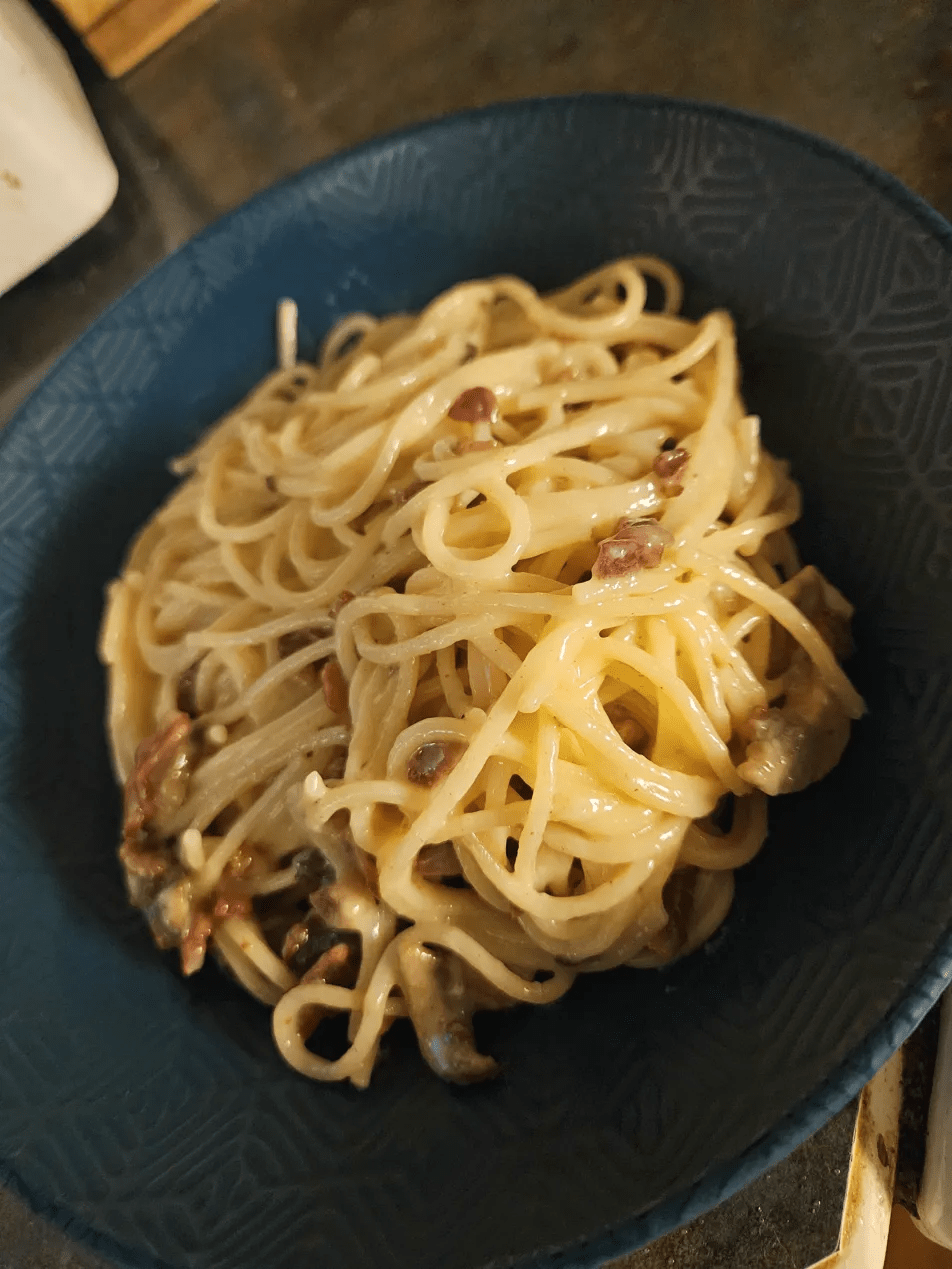
A bare fridge prompted a creative carbonara using excessive bacon, eggs, cheese, and mushrooms. The dish maintained its classic essence despite the overabundance, resulting in a silky, flavorful meal that delighted a young diner.
-
Repatriated Meatballs

Swedish meatballs evolved from ethnic to regular food, becoming a staple in American homes. The author recreates them in Finland, blending traditional ingredients with local flavors, highlighting their rich culinary history and personal connection.
-
Pannukakku with an Accent
My husband taught me to call it pannukakku. This was back in California, fifteen-odd years ago, when he was still “the boy” and I was still learning which of his food preferences were actually Finnish and which were just him. (The man will put ketchup on things that should not have ketchup. That’s not cultural.…
-
Key Lime Pie* (*May Contain Trace Amounts of Actual Lime)
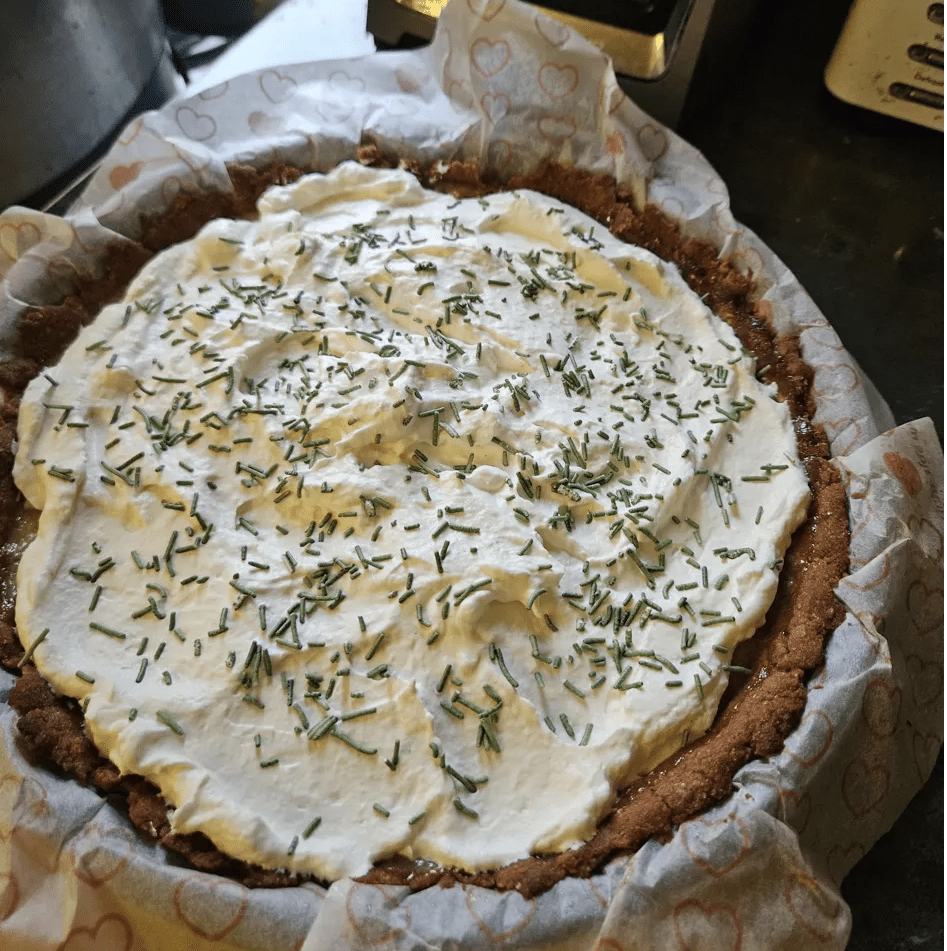
A creative twist on key lime pie blends limited lime juice with lemon, citric acid, and lime syrup, resulting in a festive dessert that surprisingly complements traditional Finnish Christmas fare, earning positive reception from diners.
-
I Miss Trash

The author reflects on their longing for nostalgic American comfort food while living in Finland. Despite recognizing the superior quality of Finnish ingredients, they find that the unique flavors and textures of childhood treats can’t be replicated.
-
Hunted, Foraged, Traded, Inherited
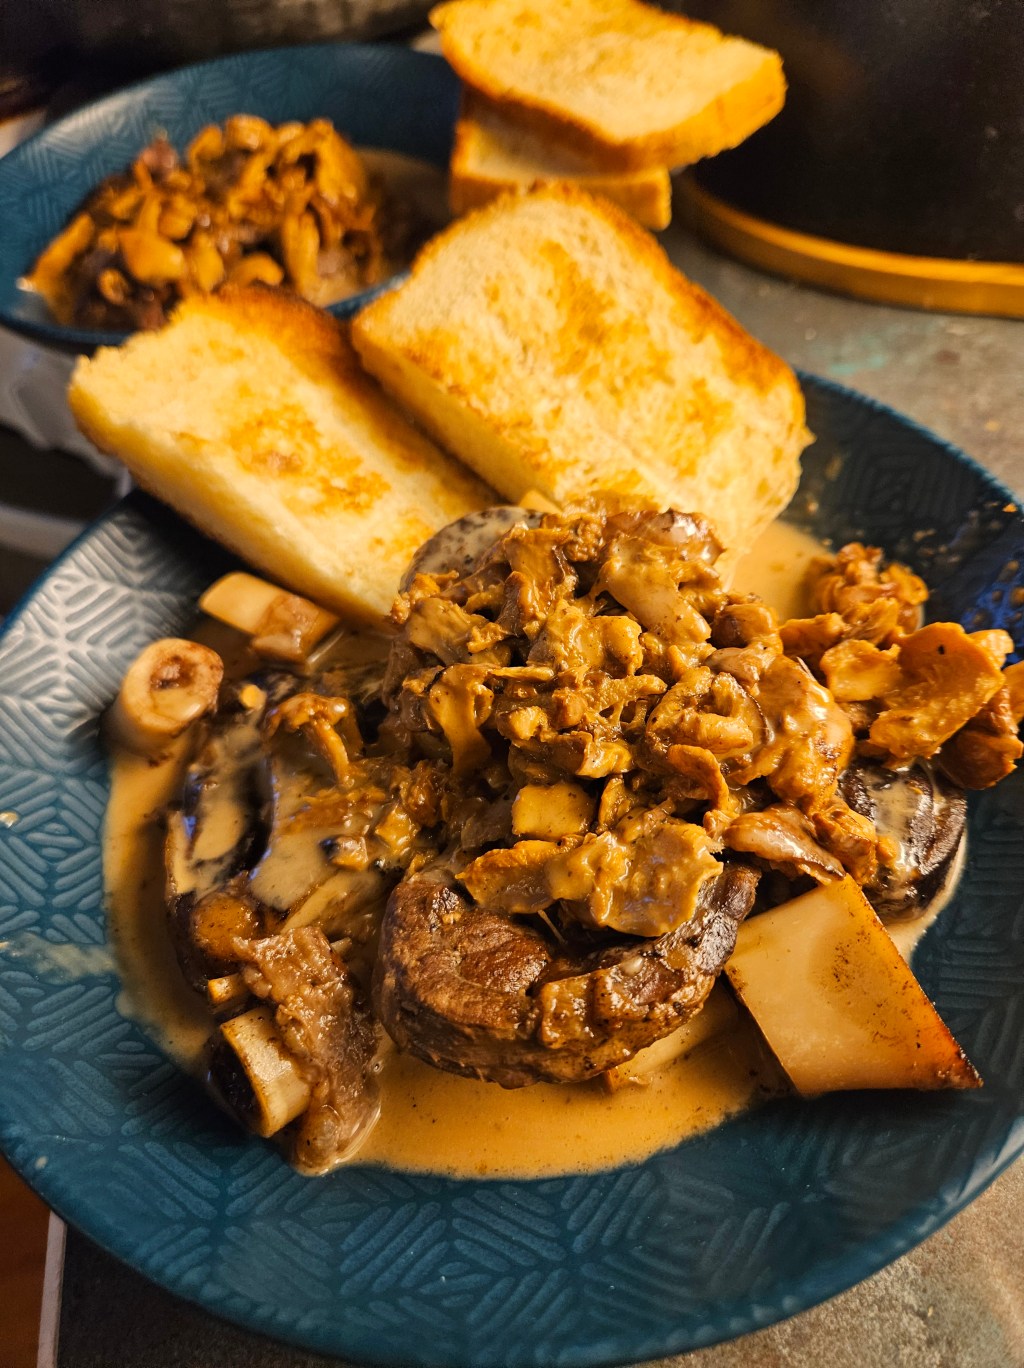
I was doing a freezer audit the other week. (There’s a longer story there involving some truly ancient beef liver and a reckoning with inherited food packrat tendencies, but that’s a confession for another day.) The point is: I found treasures. Vacuum-sealed venison osso buco from November 2024, bought through our local food circle from…
-
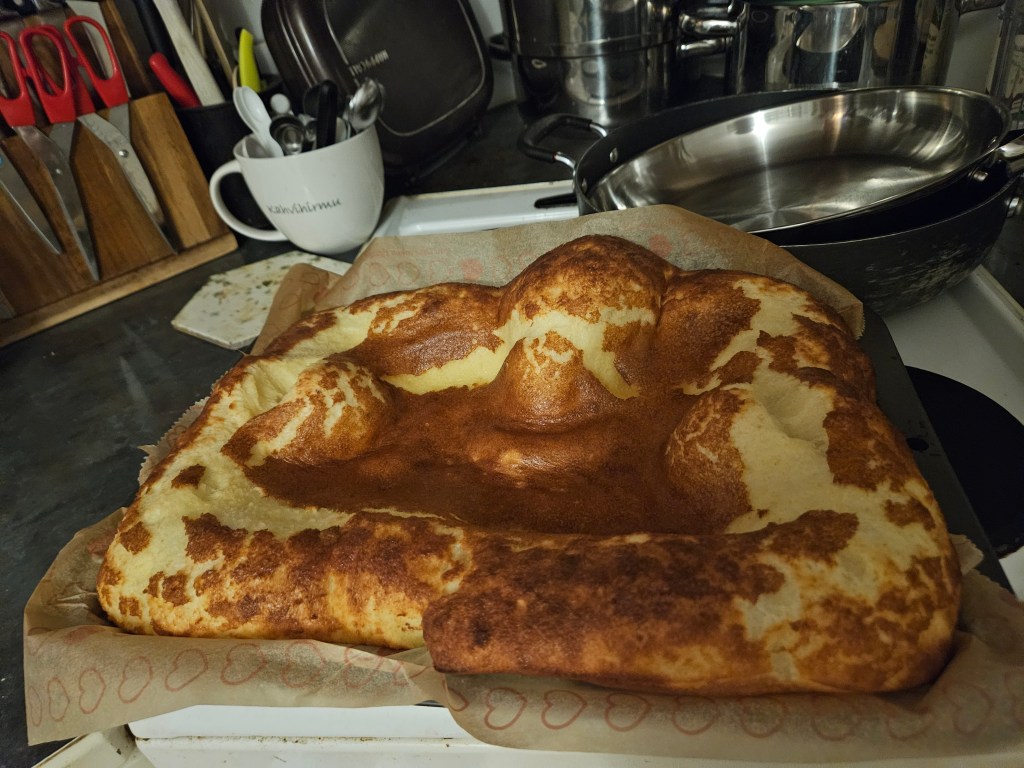
The Great Hawaiian Bread Disaster (A Comedy of Errors in Four Loaves)
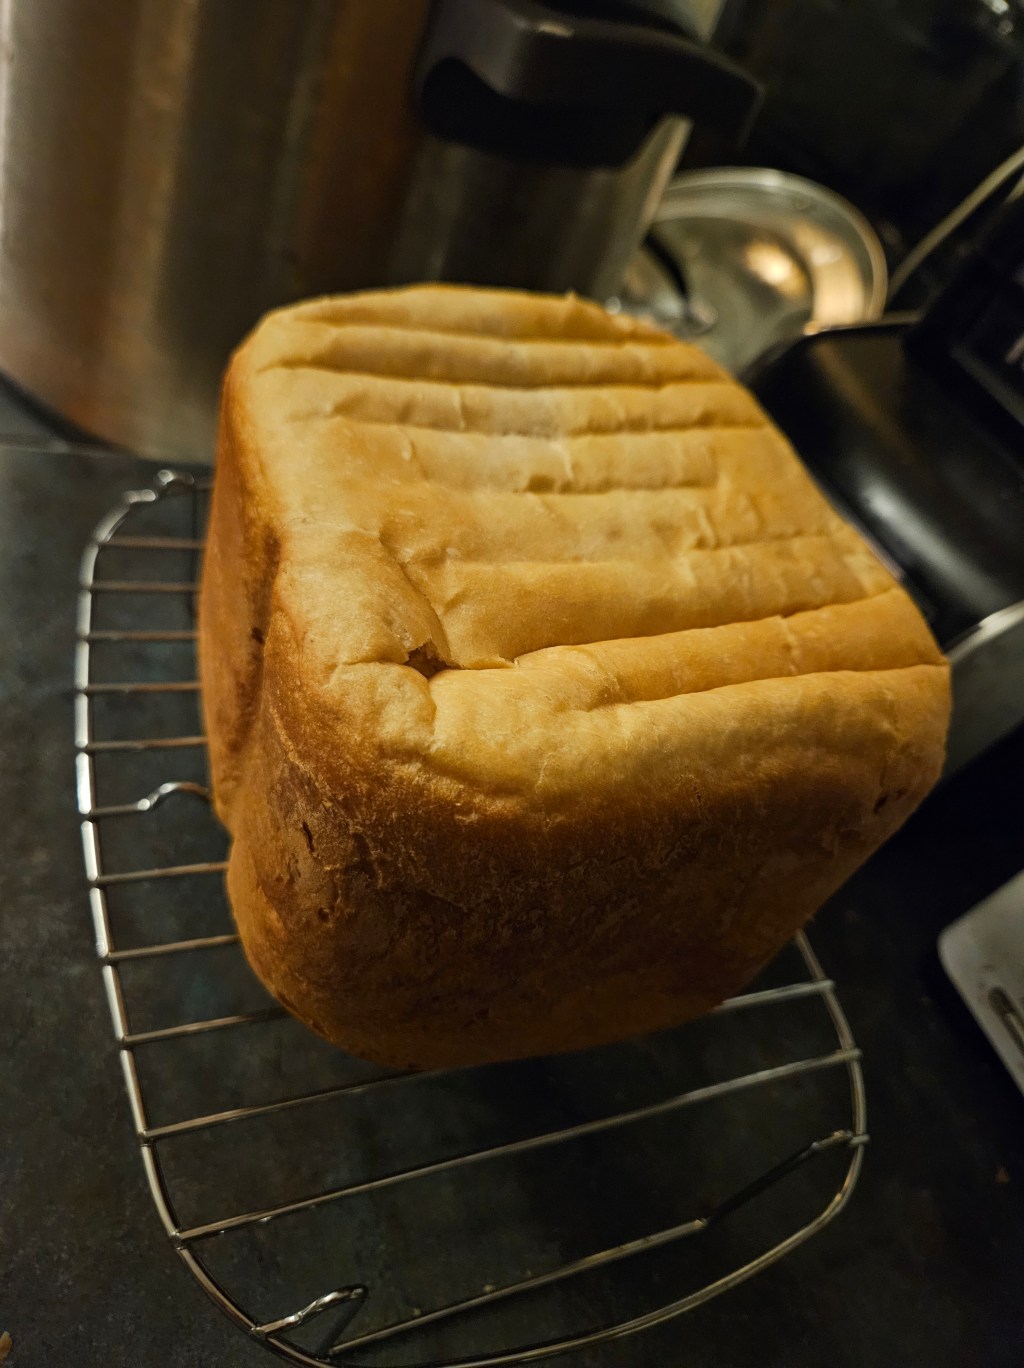
The author’s attempts to make Hawaiian bread illustrate the importance of proper liquid measurement. After three failed attempts, they discovered a crucial error in liquid quantity, leading to a successful, fluffy loaf using Finnish ingredients.
-
My Favorite Matcha Smoothie (Or: How I Learned to Stop Worrying and Drink from the Blender Cup)
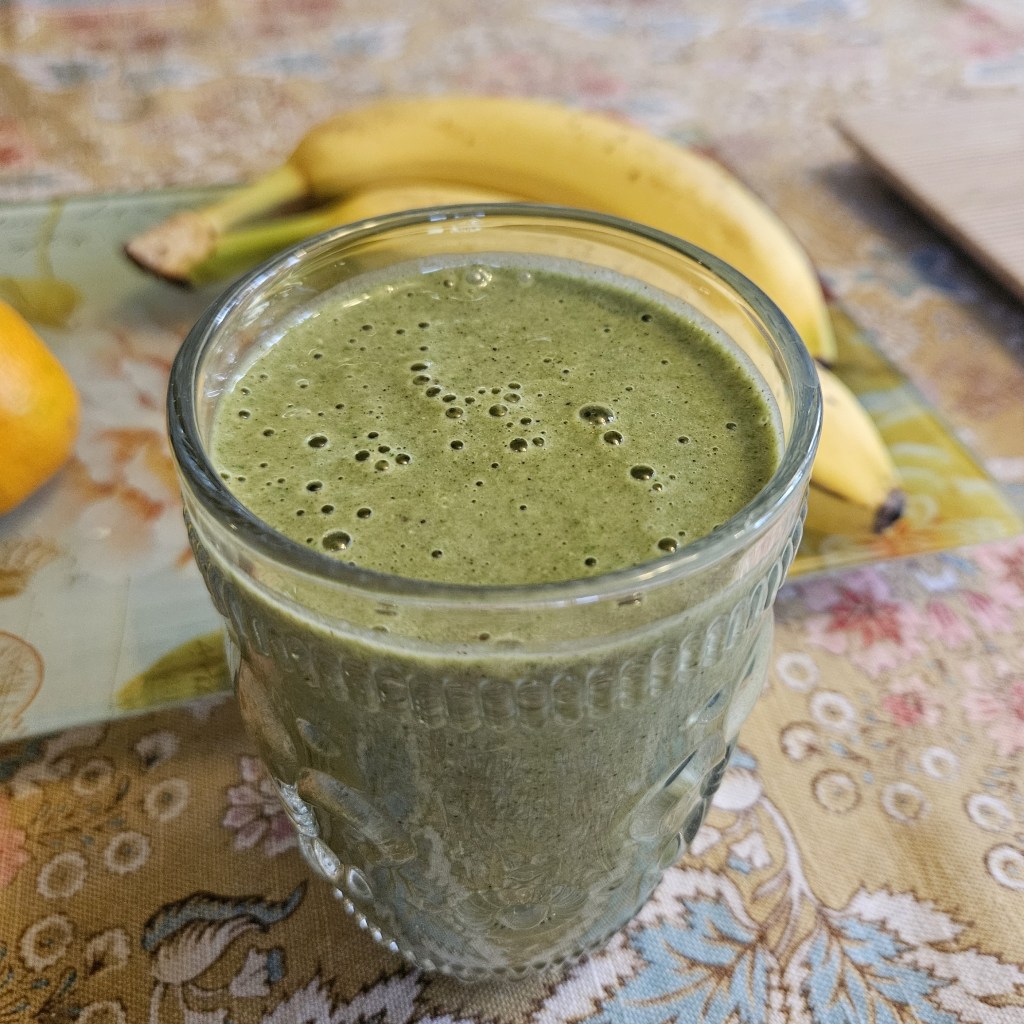
The author shares their love for smoothies, particularly a banana matcha version that keeps them full until lunch. They discuss sourcing ingredients and offer a detailed recipe with creative add-ins.
-
Dandelion Jelly Time
For the past few years, I have been looking forward to the end of May because it means… jelly-making time! We’ve always observed an unofficial sort of No-Mow May, if only because things don’t really dry out and start growing until June anyway. Even the weeds take a while to get going this far north,…
-
A Weekend Project
Root cellars. I love the idea, but in practice, it’s taken me a bit longer to get the hang of them. Like all farmhouses of a certain age, ours had one built into the basement as a matter of course. We saw it, along with a vintage loom and spinning wheel, while poking around downstairs…
